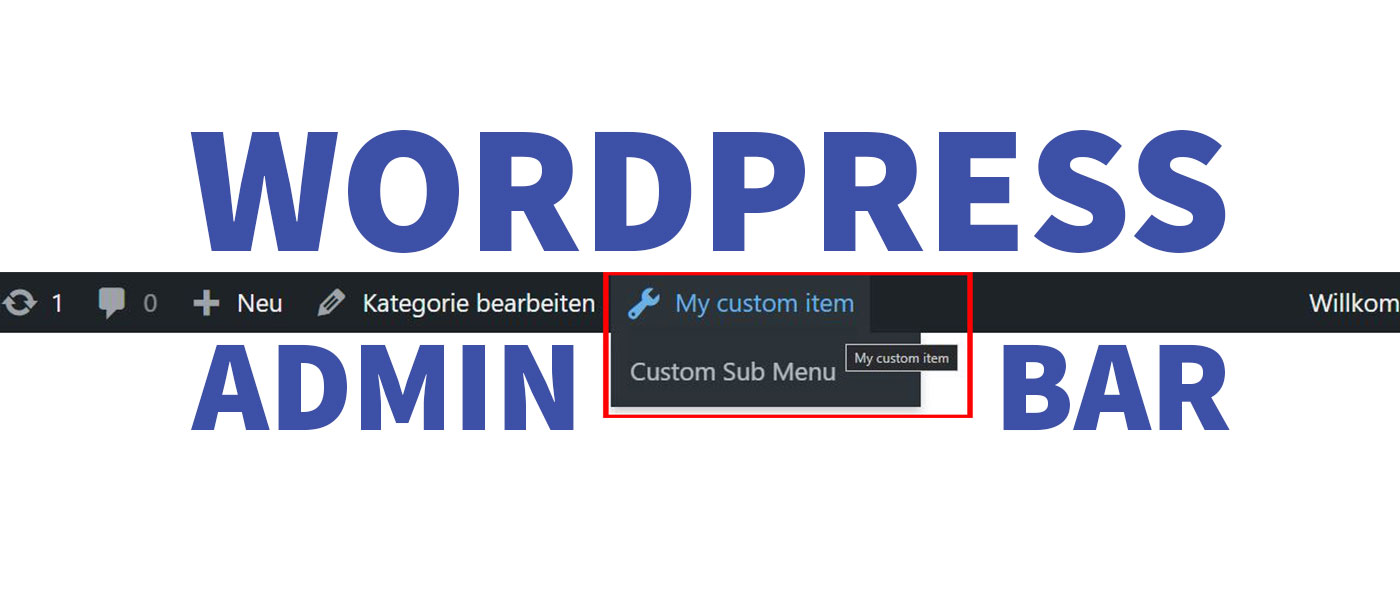
Adding WordPress Admin Bar Item (incl. Icon)

Here you will learn how to add your own Items to the WordPress Admin Bar with just a few lines of code and customize them to your liking.
To add a new link to this WordPress toolbar only a few lines of code are necessary. You can also create whole menus including submenus and custom icons. With this you can improve your own WordPress plugins for example.
Add Item to WordPress Admin Bar
The minimal item in the Admin Bar has only an ID and a title. You get the following result:

And here is the code for it. This must simply be inserted into the functions.php of your theme:
add_action('admin_bar_menu', 'add_custom_toolbar', 100);
function add_custom_toolbar($admin_bar) {
	$admin_bar->add_menu(array(
		'id'    => 'your-custom-item',
		'title' => 'Your custom item'
	));
}
The attribute id may only be assigned once.
To link the item you add the href attribute. Here the file custom_page.php of the WordPress backend is linked. But you can also add any other link.
add_action('admin_bar_menu', 'add_custom_toolbar', 100);
function add_custom_toolbar($admin_bar) {
	$admin_bar->add_menu(array(
		'id'    => 'your-custom-item',
		'title' => 'Your custom item'
		'href'  => esc_url(admin_url('custom_page.php')),
	));
}
➜ Documentation WP_Admin_Bar::add_menu()
Meta Attributes
Additional options can be set via various meta attributes. To do this, insert the selected subarray.
add_action('admin_bar_menu', 'add_custom_toolbar', 100);
function add_custom_toolbar($admin_bar) {
	$admin_bar->add_menu(array(
		'id'    => 'your-custom-item',
		'title' => 'Your custom item',
		'href'  => '#',
		'meta'  => array(
			'title' => __('Your custom item'),
			'target' => '_blank',
			'class' => 'custom_class'
		),
	));
}
With these settings the link is opened in a new tab, a hover title is set and the CSS class custom_class is set for custom styling.
You can find all meta attributes with description in the documentation for WP_Admin_Bar::add_menu().
Create submenu
To create a submenu, simply add another menu via add_menu() using the same scheme.

It is important that the ID in line 4 matches the parent attribute in line 16.
add_action('admin_bar_menu', 'add_custom_toolbar', 100);
function add_custom_toolbar($admin_bar) {
	$admin_bar->add_menu(array(
		'id'    => 'your-custom-item',
		'title' => 'My custom item',
		'href'  => esc_url(admin_url('custom_page.php')),
		'meta'  => array(
			'title' => __('My custom item'),
			'target' => '_blank',
			'class' => 'your_custom_class'
		),
	));

	$admin_bar->add_menu(array(
		'id'    => 'your-custom-sub-menu',
		'parent' => 'your-custom-item',
		'title' => 'Custom Sub Menu',
		'href'  => esc_url(admin_url('custom_subpage.php')),
		'meta'  => array(
			'title' => __('Custom Sub Menu'),
			'target' => '_blank',
			'class' => 'your_custom_class'
		),
	));
}
Add sub-submenu

To add such a sub menu, simply repeat the insertion of another menu. Again, it is important that the parent attribute of the sub menu matches the ID of the sub menu.
add_action('admin_bar_menu', 'add_custom_toolbar', 100);
function add_custom_toolbar($admin_bar) {
	$admin_bar->add_menu(array(
		'id'    => 'your-custom-item',
		'title' => 'My custom item',
		'href'  => esc_url(admin_url('custom_page.php')),
		'meta'  => array(
			'title' => __('My custom item'),
			'target' => '_blank',
			'class' => 'your_custom_class'
		),
	));

	$admin_bar->add_menu(array(
		'id'    => 'your-custom-sub-menu',
		'parent' => 'your-custom-item',
		'title' => 'Custom Sub Menu',
		'href'  => esc_url(admin_url('custom_subpage.php')),
		'meta'  => array(
			'title' => __('Custom Sub Menu'),
			'target' => '_blank',
			'class' => 'your_custom_class'
		),
	));

	$admin_bar->add_menu(array(
		'id'    => 'your-custom-sub-sub-menu',
		'parent' => 'your-custom-sub-menu',
		'title' => 'Custom Sub Sub Menu',
		'href'  => esc_url(admin_url('custom_subsubpage.php')),
		'meta'  => array(
			'title' => __('Custom Sub Sub Menu'),
		),
	));
}
Add WordPress Admin Bar Icon
Icons can make the admin bar items a bit clearer and nicer.

To do this, add an <span>-attribute to the title:
<span class="ab-icon dashicons dashicons-admin-tools" style="top:3px"></span>
You can replace the .dashicons-admin-tools class with a dashicon of your choice.
When used, the icon in the code looks like this:
add_action('admin_bar_menu', 'add_custom_toolbar', 100);
function add_custom_toolbar($admin_bar) {
	$admin_bar->add_menu(array(
		'id'    => 'your-custom-item',
		'title' => '<span class="ab-icon dashicons dashicons-admin-tools" style="top:3px"></span>My custom item',
		'href'  => esc_url(admin_url('custom_page.php')),
		'meta'  => array(
			'title' => __('My custom item'),
			'target' => '_blank',
			'class' => 'your_custom_class'
		),
	));

	$admin_bar->add_menu(array(
		'id'    => 'your-custom-sub-menu',
		'parent' => 'your-custom-item',
		'title' => 'Custom Sub Menu',
		'href'  => esc_url(admin_url('custom_subpage.php')),
		'meta'  => array(
			'title' => __('Custom Sub Menu'),
			'target' => '_blank',
			'class' => 'your_custom_class'
		),
	));
}
Show menu only on certain pages
If you want the admin bar menu item to be displayed only on certain pages, this is of course also possible. You can do this with a simple if query.
Show only on post pages
add_action('admin_bar_menu', 'add_custom_toolbar', 100);
function add_custom_toolbar($admin_bar) {
	if (is_single()) {
		// $admin_bar->add_menu(...)
	}
}
Show only for specific IDs
Here you simply replace the ID in the highlighted line with the ID of your page.
add_action('admin_bar_menu', 'add_custom_toolbar', 100);
function add_custom_toolbar($admin_bar) {
	if (get_the_id() === 42) {
		// $admin_bar->add_menu(...)
	}
}
Show only on archive pages
add_action('admin_bar_menu', 'add_custom_toolbar', 100);
function add_custom_toolbar($admin_bar) {
	if (is_archive()) {
		// $admin_bar->add_menu(...)
	}
}
Show only for specific Custom Post Type
You can simply replace your_custom_post_type with the slug of the post type you want.
add_action('admin_bar_menu', 'add_custom_toolbar', 100);
function add_custom_toolbar($admin_bar) {
	if (get_post_type() == 'your_custom_post_type') {
		// $admin_bar->add_menu(...)
	}
}


